

Hi there!
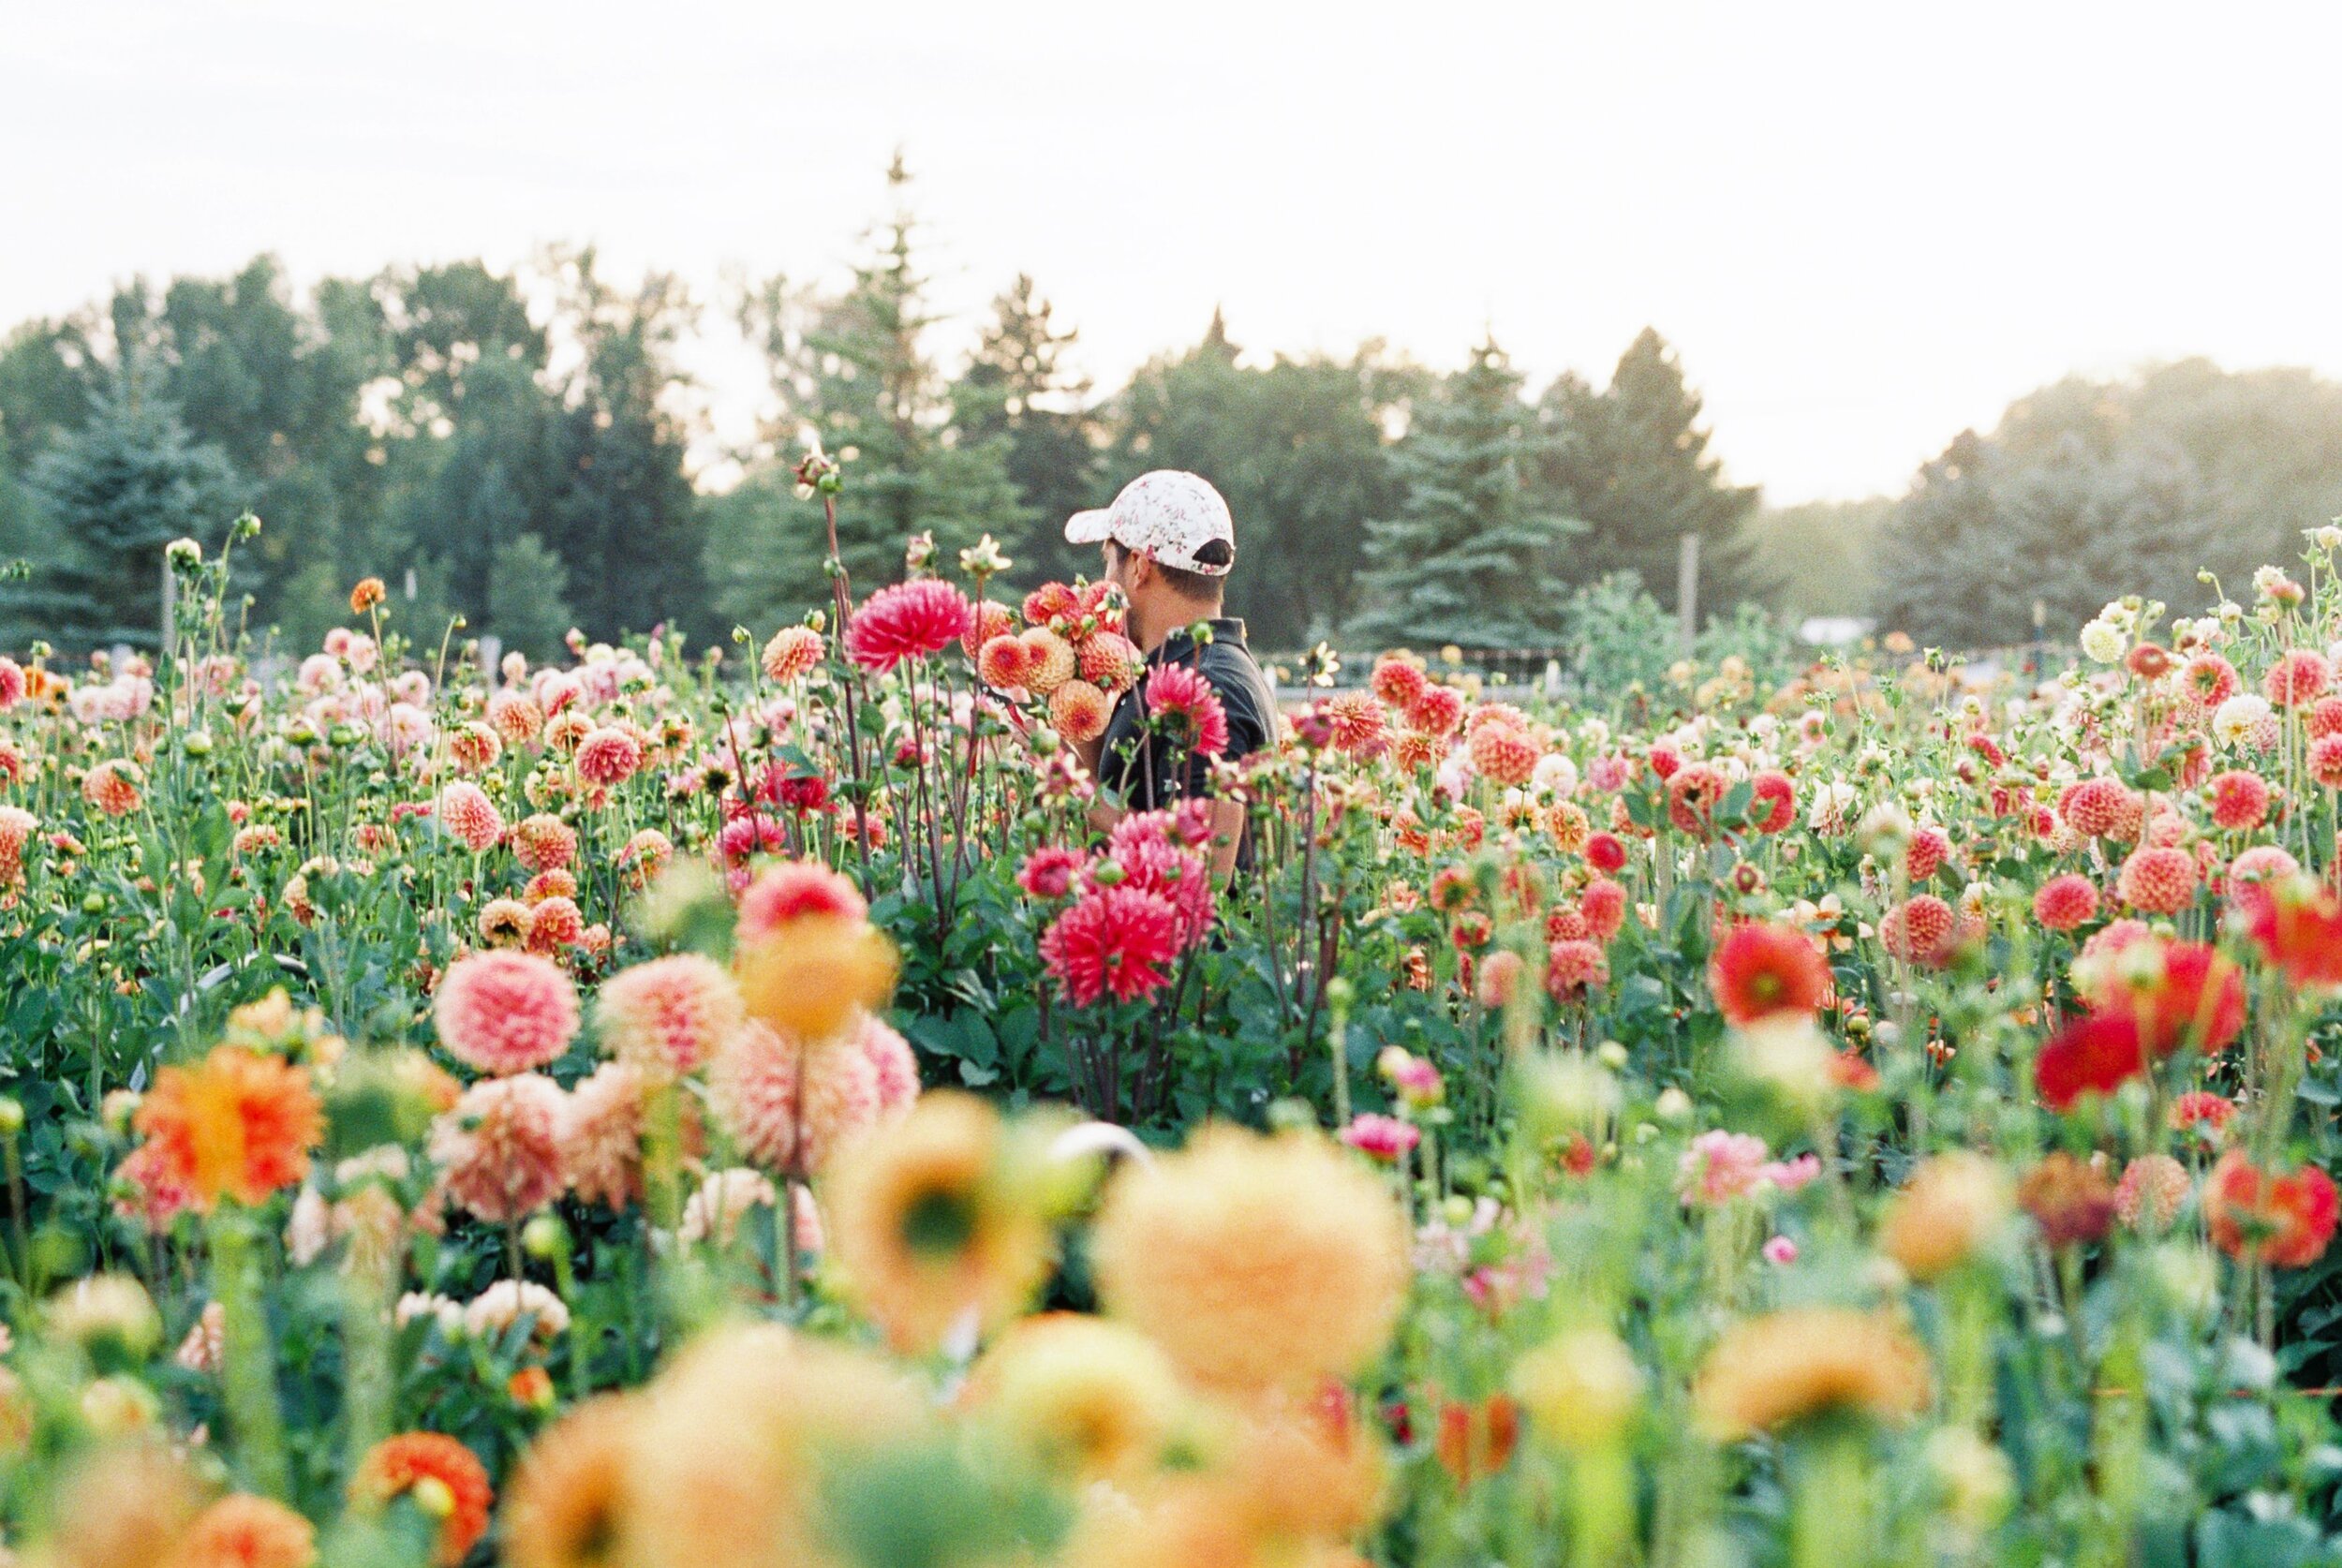
My name is Julio Freitas. I own a Floral Design and Flower Farming business located in Bozeman, Montana. I have been a floral designer for about 10 years and a farmer for 5 years. Growing flowers came out of necessity, since getting flowers delivered to Montana can be challenging with excessive delays which directly impact the quality and vase life of the flowers.

While the weather in Montana may be challenging at times, there are many crops that will do well here. Over the years I had to learn how to make the best out of the climate I had to work with. I have trialed growing a number of different flowers, some failed miserably, and some did extremely well. Somewhere along the way, I fell in love with dahlias. While they’re easy to grow, growing them in zone 4b has proven to require a few extra steps, all of which I am excited to share with you below. I hope this will inspire you to try growing dahlias, if you haven’t yet!
PREPARING THE SOIL
After we get our Soil Test results back in the Spring, we decide if we need to amend the soil. For the last two seasons, we haven’t needed to add any amendments. Nitrogen levels are high enough for dahlias and Potassium and Phosphorus levels are high. The only thing we add to our soil before planting is good compost, tilling it in after spreading it over our soil.
PLANTING
Our beds are 4’x70’ long, and get full sun all day. We dig 4 trenches the entire length of each bed using a Warren Hoe. That means our trenches are spaced 12” apart. While this may seem like a lot of work (We do this to all 17 beds!) it definitely pays off when planting 6300 tubers! When planting in the trenches, we plant the tubers 9” apart, 4” deep. We have tried planting 12” apart and as close as 6” apart, because I wanted to see what would work best for us. While 6” apart was WAY too close and the plants got too crowded, we felt 9” was a good spacing for us. Now, please keep in mind that the climate in Montana is very dry and the low humidity in the air can afford us this tight spacing. If you live in a more humid climate, I’d recommend 12” to 18” spacing to allow for more airflow between the plants.
COVERING
We wait until mid-May to plant our tubers in the ground. We don’t pre-sprout them, unless we’re trying to take cuttings (propagating more plants by taking soft tissue cuttings). I’ve found that the transplant shock of trying to plant sprouted dahlias sets the plants back 2-3 weeks, so we only plant tubers directly in the ground. Because we can get a frost here until mid June, we cover our dahlias with a low tunnel after planting. (To read a bit about low tunnels, click here.) We find that the tunnel produces heat in the spring when the dahlias need extra warmth to wake up. The tunnels go on immediately after planting. It is a lot of work but we see results right away. The plants get the warmth they need, get protected from frost, they grow faster than uncovered plants and most importantly, they provide protection from those early spring showers, since tubers should not be watered until they start sprouting. Once the days start getting too hot and the dahlias get growing, it’s almost a daily job to vent the tunnels, by lifting the sides so air flow can get through. But again, totally worth it. This method has allowed us to plant dahlias 2-3 weeks earlier than usual, which is a huge bonus, considering our short growing season.

FERTILIZING
As mentioned previously, the soil doesn’t get any amendments by way of fertilizers before the tubers go in the ground. However, we do apply a foliar feed of fish emulsion, usually a 5-1-1 formula, once a week after the tuber sprout and the plants get growing. We chose this formula because we want to encourage the plant to produce green growth. We stop applying this foliar feed spray in mid July.
PINCHING
Pinching, or topping, is a technique used to promote lateral growth by removing the top part of the plant. We top our dahlias when they’re 6-12” tall. By doing that, the plant produces multiple nice long stems, instead of one main stem with one bloom. This technique usually more than doubles our yields, which is much welcomed, considering our limited amount of growing space.
WATERING
Our climate is very dry and the soil dries out really fast. We water twice a week once the plants start growing and as summer approaches, the temperate rises, and the plants get bigger (requiring more water), we switch to watering three times a week. We use drip tape and give the plants a really good soak every time we water.
HARVESTING
Dahlias are one of those crops that produce more, the more you harvest. We try to harvest three times a week and pick as many blooms as possible. We pick them when they are ¾ of the way open.
TUBER STORAGE
After the first fall frost, we wait about a week or two before we start digging up the clumps. Each clump is harvested by hand. After trialing many storage methods, we’ve found that we have best success when we keep the dirt around the clump intact and store the clumps in crates in our cooler, which stays at 40-45F. We pull them out in late winter to divide them into individual tubers, for our dahlia tuber sale in early February.
While Dahlias love warmth, growing them in zone 4b is doable. The dry climate allows for less diseases, the low tunnels can extend the growing season by warming up the soil earlier in the spring and the close planting space maximizes any small amount of land.
There are thousands of shapes and sizes of dahlias out there and I’ve compiled my 50 favorites varieties in a beautiful guide. You can get a copy of it by going here.
By Julio Freitas, The Flower Hat